Record a Zoom, Teams or Google Meet call on a Mac — both voices and your camera
Recording a call on a Mac usually goes wrong in one of two ways: the file has your voice and silence where everyone else should be, or it has everyone twice. The first is a missing system-audio capture; the second is speakers. Reel records the sound the Mac is playing and your microphone together, with nothing extra to install — and headphones take care of the second.
Ask first
Tell the people on the call that you are recording, before you start. In many places it is the law, and everywhere it is the decent thing to do.
What ends up in the file
The whole display the call is on — the meeting window and anything else on that screen. The other participants' voices, recorded as system audio, the sound the Mac is playing. Your own voice, from the microphone. And, if you want it, your camera drawn into the corner of the video.
System audio comes through Apple's ScreenCaptureKit, so there is no BlackHole, no loopback driver and no Audio MIDI setup. The same permission that lets Reel record the screen lets it record the sound.
Before the call
- Put on headphones. Reel records the microphone as it is, with no echo cancellation, so with speakers the other side is recorded twice: once clean, once through the mic a moment later.
- Open Reel once and start a test recording so macOS asks for permission. Allow screen recording (on recent macOS the pane is called Screen & System Audio Recording), the microphone and the camera.
- Choose the microphone you want as the Mac's default input in System Settings › Sound › Input. Reel records the default input; if you change it, quit and reopen Reel.
- Decide about the camera. The call already shows your face, so you may not need Reel's; turn Show Camera off if not. If you want it, leave the Mac's default Floating Window mode: the camera is drawn into the recording wherever you placed it in Reel's window, even when the meeting covers Reel.
- In Settings → General, turn off Show this app in the recording, so Reel's own window never appears.
- Turn on Do Not Disturb or a Focus. Everything on the recorded display is in the file, a notification banner included.
Record the call
- Join the meeting and put its window on the display Reel records — your main display, when you start from Reel's main window.
- Start the recording in Reel, with Screen Recording or ⌘R.
- Go back to the meeting. Reel keeps recording behind it. The Microphone and System Audio levels can be changed during the call if one side is too loud.
- When the call ends, click Reel's window and press ⌘R or Stop Recording. A save dialog asks where to put the MP4.
One track or two
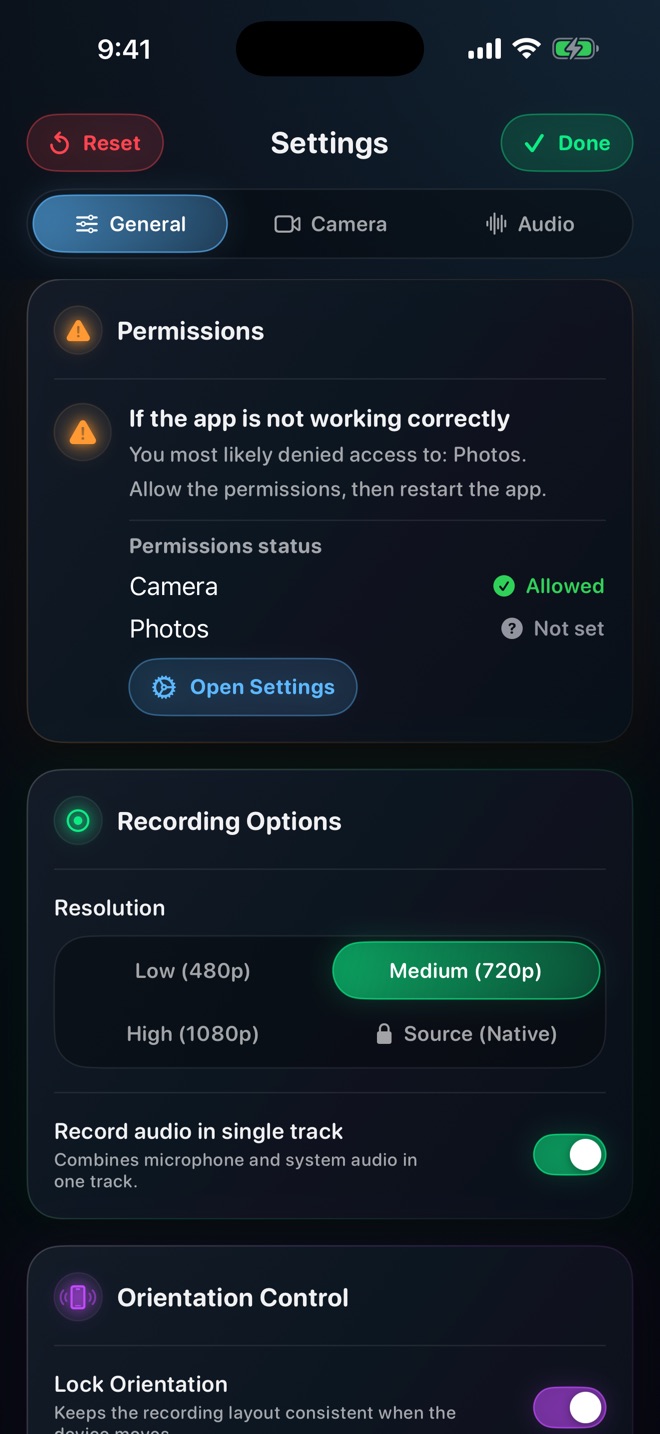
With Record audio in single track on, the default, everything is mixed into one track that plays the same everywhere. Turn it off in Settings → General → Recording Options and the file carries two: the call on the first, your microphone on the second — useful when the recording is going into an editor and you want to clean up or lower one side.
On iPhone and iPad
Phone calls and FaceTime cannot be recorded on iPhone or iPad: iOS does not give their audio to any screen recorder, for privacy. Reel does not record calls there, and we do not promise anything for other calling apps on iOS either.
Why is the other person missing from my recording?
The recorder captured only the microphone. Reel records the sound the Mac is playing as system audio; check that the System Audio level is not at zero and that screen recording permission was allowed.
Why does everyone sound twice?
Speakers. The microphone hears the call a moment after the clean system-audio copy is recorded. Wear headphones.
Do I need to install an audio driver?
No. Reel captures system audio through Apple's ScreenCaptureKit; the screen recording permission covers it.
Can I record a FaceTime or phone call on iPhone?
No. iOS keeps call audio away from every screen recorder.