How to Screen Record Clips for Commentary & Fair-Use Reactions With Crisp Internal Audio
Reviewers, educators, and tech commentators routinely break down Apple Keynotes, game trailers, open-source demos, or their own channel uploads—only to end up with muffled room audio recorded off laptop speakers. Capturing clean digital system audio while balancing your live voice on top makes commentary sound studio-mixed in one pass.
On Mac: Full-screen player + ScreenCaptureKit audio + headphones
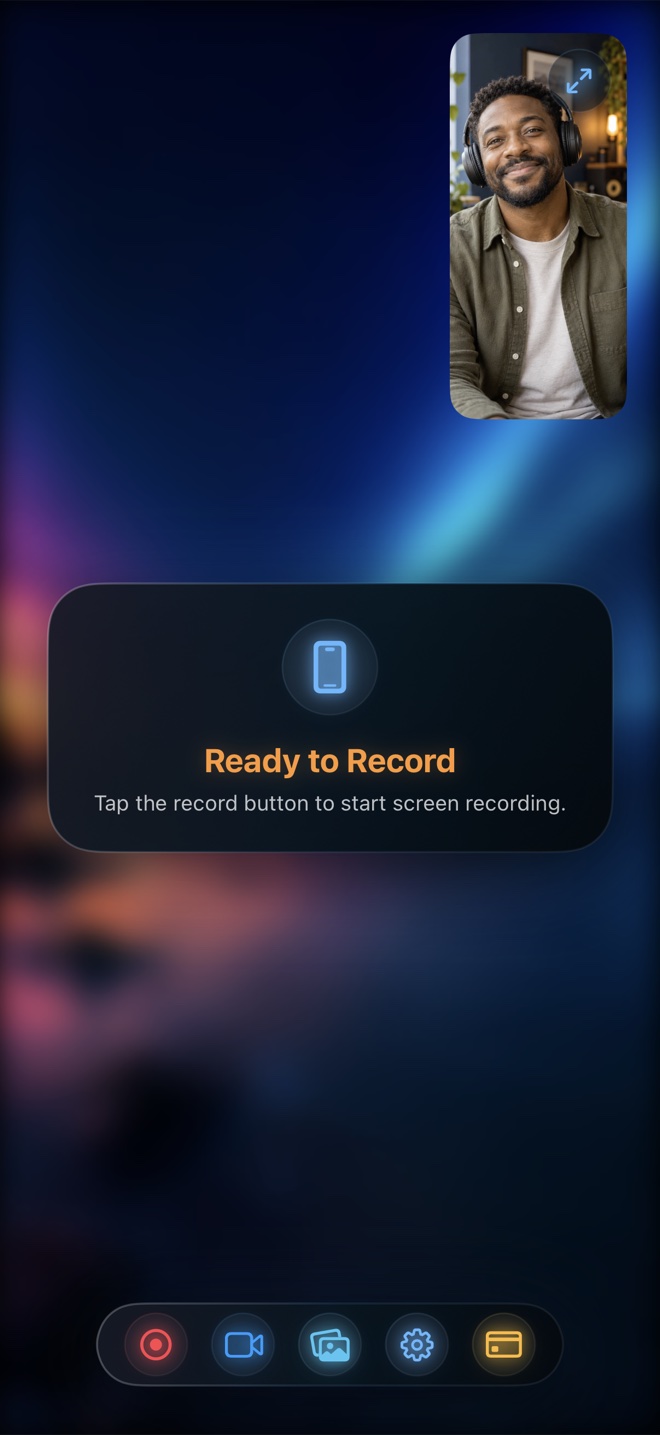
Open the clip you have rights or fair-use commentary purpose to review on your Mac display, put headphones on so speaker audio never leaks into your mic, set System Audio to ~30% and Microphone to ~95% in Reel, position your Pop-out Camera Window in an unobstructed corner, and press Command-R.
Pause the video whenever you want to unpack a point in detail, then press Space to resume—your live analysis and the clip’s crisp stereo audio record together.
On iPhone & iPad: In-app player vs Picture-in-Picture browser view
If it is your own video file in Photos, load it directly inside Reel’s iOS video player for zero browser chrome. If you are reviewing a live webpage or thread in Safari, switch Reel’s camera to Picture in Picture, ensure Silent Mode is off, and wear earbuds.
Make commentary genuinely transformative
Whether on YouTube, TikTok, or X, pause frequently, add original critique or educational context on camera, only show the specific seconds you are analyzing, and never screen-record DRM-protected subscription movies or re-upload someone else’s work unedited.
Why was the video clip way louder than my voice?
Web players default to 100% volume. Lower System/App Audio to 25–35% in Reel (or in the video player itself) so your narration stays clear.
Can I record separate audio tracks to duck volume in Final Cut or DaVinci Resolve later?
Yes—turn off "Record audio in single track" in Reel’s Settings → General to write separate mic and system audio tracks into the MP4.