How to Add Auto Subtitles & Live Captions to Facecam Screen Recordings on iPhone
Over half of social feeds are watched on mute for the first three seconds, which means an uncaptioned tutorial loses viewers before they tap for sound. On iPhone and Mac, you can either capture Apple’s system Live Captions in real time or export a clean MP4 ready for instant auto-captioning on TikTok, Reels, YouTube, or CapCut.
Option 1: Real-time on-screen captions with iOS Live Captions (zero post-processing)
Supported Apple Silicon Macs and recent iPhones include system-wide Live Captions inside Accessibility. Because Live Captions renders on screen in real time from either app audio or your microphone, ReplayKit records the caption bar right alongside your Picture-in-Picture facecam.
Open Settings → Accessibility → Live Captions, toggle it on, and turn on Live Captions in-app audio or mic as needed. Position your PiP camera at the top corner and the translucent Live Captions pill near the lower third so neither overlaps.
Option 2: Why single-track audio settings decide whether social auto-captions work
If you prefer styled word-by-word captions generated inside Instagram Reels, TikTok, YouTube Shorts, or Final Cut, your MP4’s audio layout matters critically.
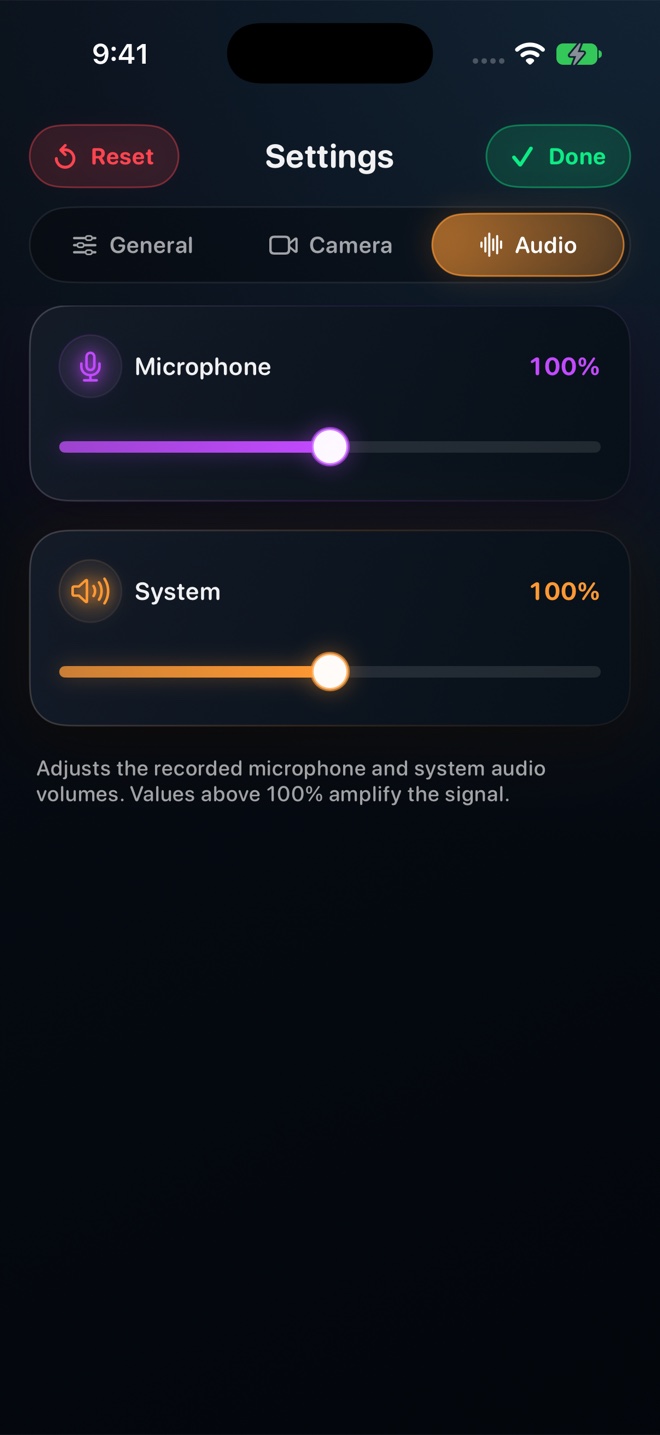
In Reel’s Settings → General, keep "Record audio in single track" enabled when exporting for social platforms, and set your Microphone slider roughly 20–30% louder than app audio. Speech-to-text models transcribe near-flawlessly when voice sits clearly above game or UI sound effects on Track 1.
Why did TikTok or Instagram fail to detect my voice in an uploaded recording?
Usually because two-track audio was enabled and the platform only read the system-audio track, or game audio drowned out the mic. Keep single-track audio on and lower app sound below your voice.
Can I record translated captions live on screen?
Yes—pair Reel with a live translation overlay such as GPT Realtime Assistant so spoken speech appears translated on screen as you record.