How to Record a Webinar or Live Stream on Mac With Crisp Internal Audio
Whether you are hosting a live workshop and want a backup local MP4 master in case cloud recording glitches, or saving an internal training webinar with organizer permission, recording a 60-minute stream reliably on Mac comes down to three settings: display sleep prevention, ScreenCaptureKit audio, and 1080p storage math.
Prevent display sleep before starting a 60-minute webinar capture
If you step away from the trackpad during a 45-minute town hall and macOS dims or locks the display, the recording captures a lock screen. Plug your MacBook into power and temporarily set System Settings → Lock Screen → Turn display off on power adapter to Never (or run `caffeinate -d` in Terminal).
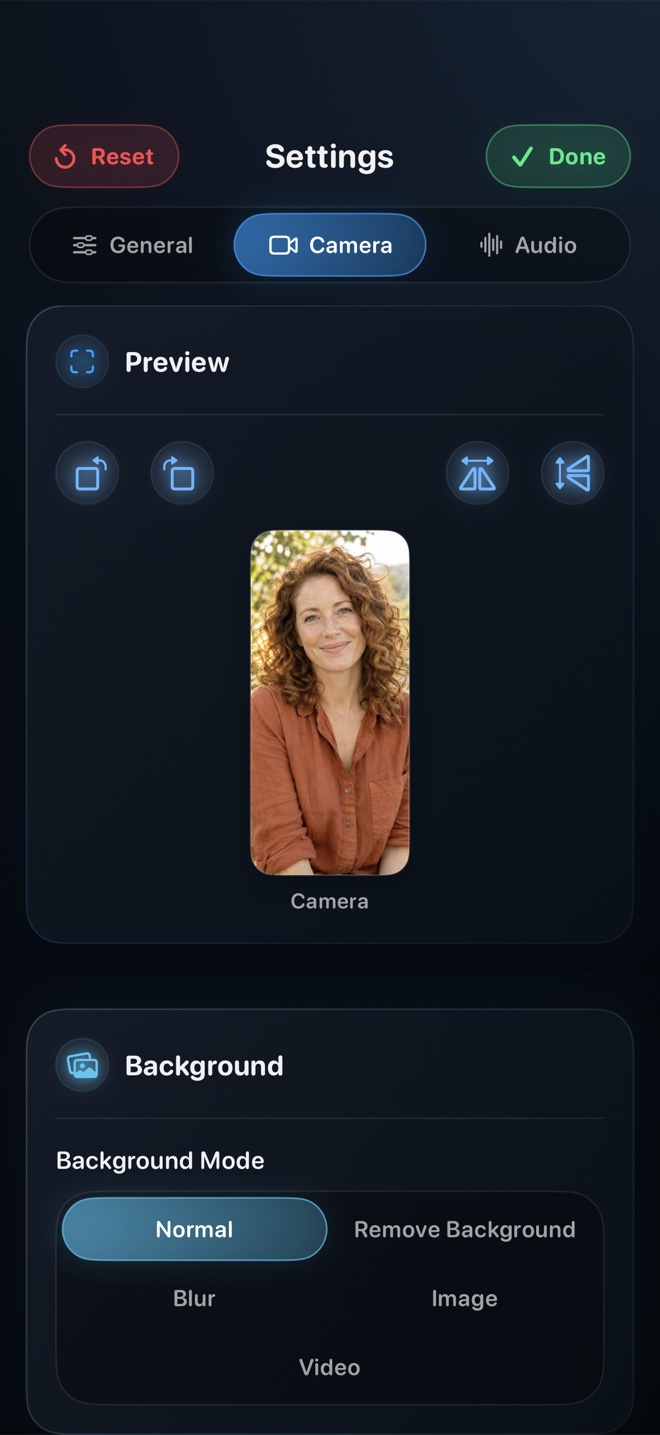
In Reel on Mac, turn Show Camera off if you only want the webinar feed (or on if you are the presenter), mute your Microphone if you are purely archiving System Audio, select 720p or 1080p at 30fps, and press Command-R.
How much disk space does a 60-minute webinar take at 1080p 30fps?
Slide-heavy webinars compress efficiently in H.264/HEVC—typically 1.2 GB to 2.5 GB per hour at 1080p, vs 15+ GB in uncompressed Retina .MOV.
Why mute the Microphone slider if I am only watching and not speaking?
Muting Microphone ensures typing, coffee sips, or room sounds never enter the webinar’s clean system-audio track.