How to Record Minecraft on iPhone & iPad With a Floating Facecam & Game Sound
Minecraft Bedrock on iOS and iPadOS runs beautifully with touch controls or a Bluetooth controller—making it one of the easiest survival and building games to turn into YouTube episodes or Shorts without a PC capture card. Here is the exact setup so your facecam stays visible, caves stay bright in video compression, and block audio never overpowers your voice.
Best camera corner and HUD spacing for Minecraft iOS
Minecraft places hearts/hunger at the top-left (in Pocket UI) or above the hotbar (in Classic UI), coordinates at top-left, and pause/chat buttons top-center. That makes the top-right corner the cleanest home for your Picture-in-Picture facecam across almost every inventory screen.
- Pair an Xbox, PlayStation, or Backbone controller if you want touch circles off screen completely.
- Inside Minecraft → Settings → Video, boost Brightness to 75–100% so dark caves remain clear after YouTube/TikTok compression.
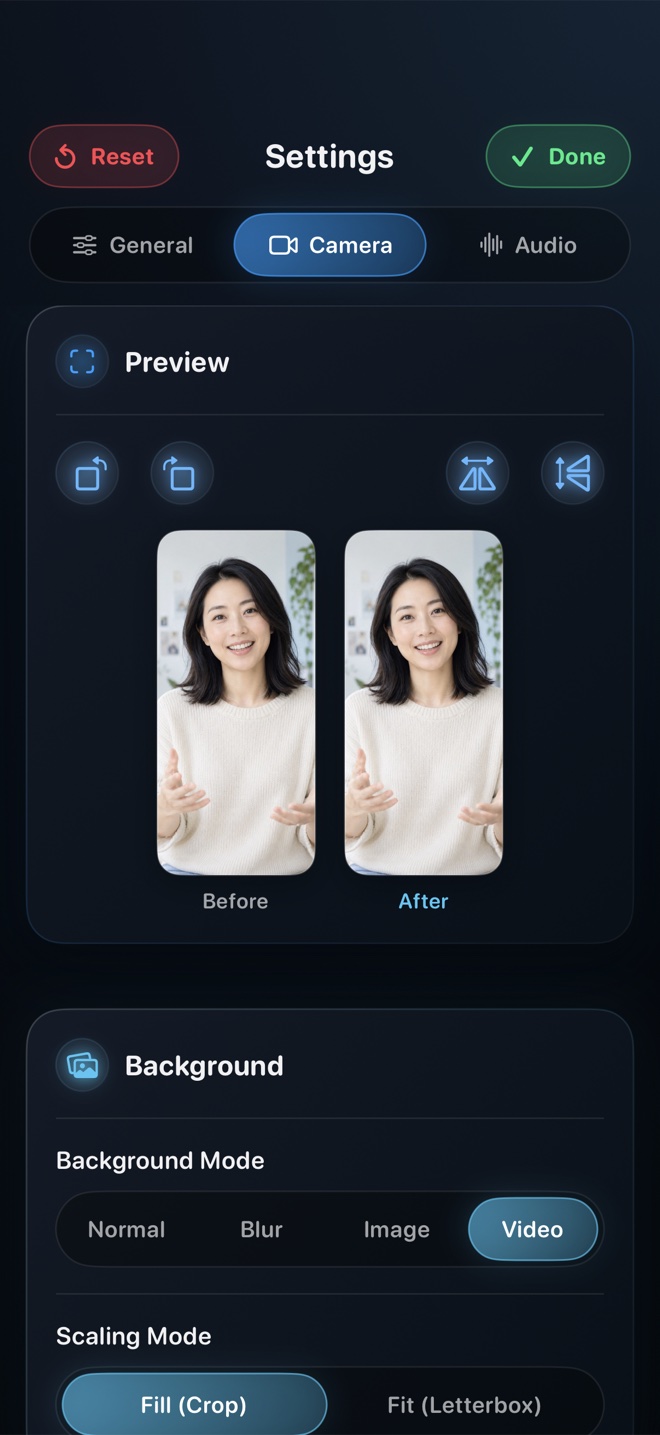
- Open Reel, select Picture in Picture camera mode, lock Landscape orientation, and set 1080p.
- Lower App Audio in Reel (or Master Volume in Minecraft) to ~35% so mining and rain sounds sit comfortably beneath your narration.
- Start the broadcast from Reel and open your Minecraft world.
Long-episode storage math for 30-minute Let’s Plays
Fast camera panning across grass blocks and foliage increases video bitrate because every pixel changes each frame. Keep at least 6–8 GB of free storage on your iPhone or iPad before starting a 30-minute survival episode, and export in 1080p for the best balance of crisp pixel-art edges and fast upload sizes.
Does connecting a Bluetooth controller interfere with Reel’s audio or PiP camera?
Not at all—Bluetooth gamepads use HID input only, leaving camera PiP and microphone/headphone audio untouched.
Can I record Minecraft on Mac with facecam too?
Yes—Reel runs natively on macOS too, capturing Minecraft Java or Bedrock via ScreenCaptureKit at 60fps with your webcam.